Roof saver – Installation instructions
Roof saver – Installation instructions
1. Preparing position
Before affixing the Roof Saver, position it along the edge of the roof so that it is equally distanced from either end of the roof (the drainage channels). CAUTION: IT IS ESSENTIAL TO FIND THE IDEAL POSITION OF THE STRIP BEFORE AFFIXING IT, BECAUSE 3M ADHESIVE WORKS VERY QUICKLY.
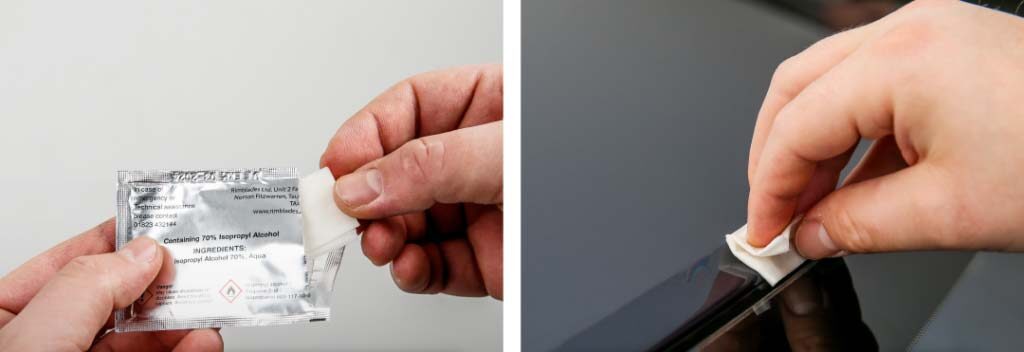
2. Surface cleaning
Take the cleaning wipe from the packaging and thoroughly clean the full length of the roof’s edge. Only when cleaned in this way, the surface is ready, and you can start affixing the Roof Saver. CAUTION: IF THE CAR HAS BEEN WASHED, WAXED OR BUFFED WITH CHEMICAL AGENTS THAT MAKE THE SURFACE UNSUITABLE FOR ADHESION, WE RECOMMEND REWASHING THE CAR WITH WARM WATER. A FEW HOURS LATER, YOU CAN BEGIN TO ATTACH THE STRIP.
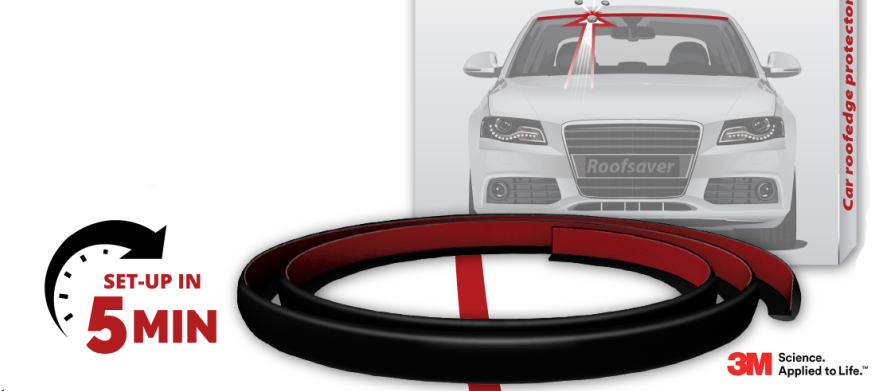
3. Preparing Roof Saver
The Roof Saver is packaged as a roll, so we recommend that you unpack it 24 hours before using it. Roll it out in the sun or a warm space and leave it until fully straightened out. CAUTION: THE 3M ADHESIVE WILL ACHIEVE ITS BEST GRIP AT OUTDOOR TEMPERATURES OF 10 TO 20°C (the car must be in the shade).
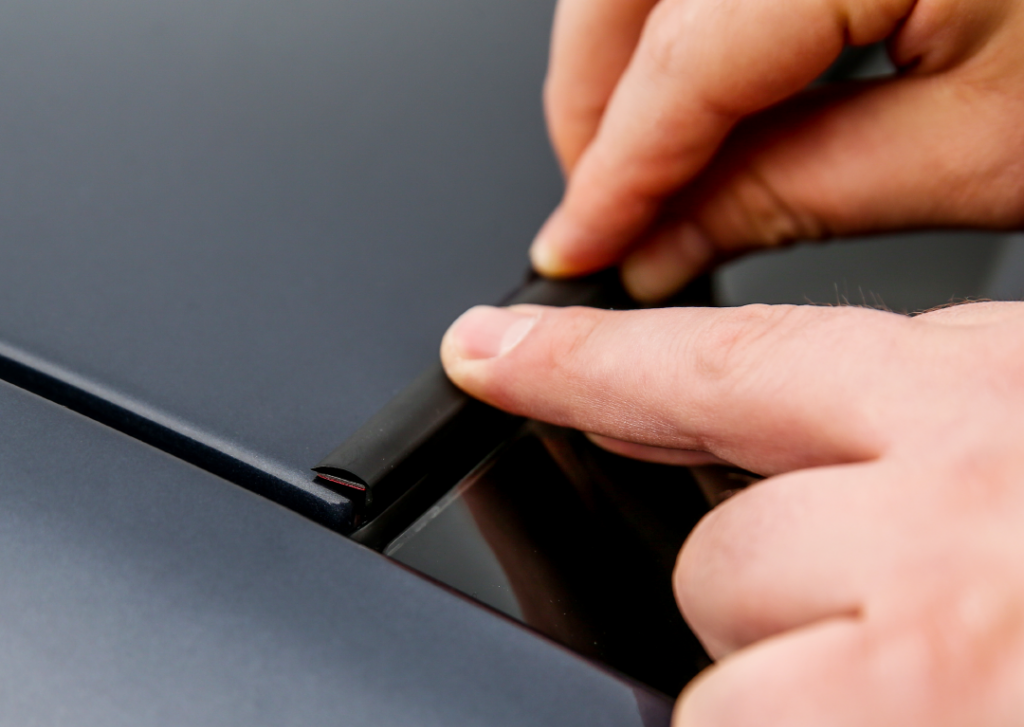
4. Installing the tape
Begin to attach the Roof Saver in the position you have previously determined. (see Figure 1)
5. Gradual bonding
As you stick on the Roof Saver, follow the edge of the roof making sure that the lip of the strip covers the edge. CAUTION: DO NOT STRECH OR PULL THE STRIP WHILE STICKING IT ON, BECAUSE YOU MIGHT OVERSTRETCH IT AND THE STRIP WILL BE TOO LONG. IF THIS HAPPENS, CUT OFF THE EXCESSIVE LENGTH. OVERSTRETCHING THE 3M ADHESIVE STRIP MAY RESULT IN LESS-THAN-IDEAL ADHESION.

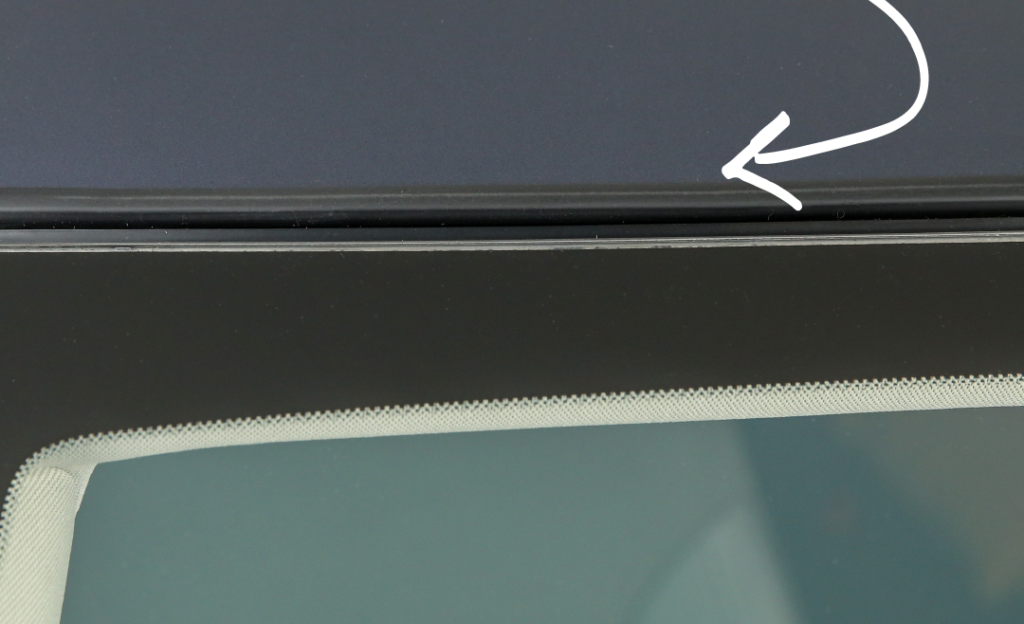
6. Final result
When properly attached, the Roof Saver will protect your car from impact with stones and prevent the development of rust on its roof. The Roof Saver will not affect the car’s appearance as it can hardly be noticed.